|
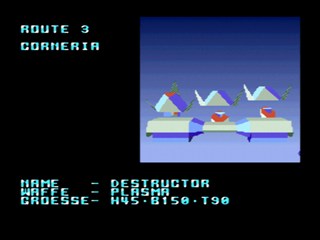
This
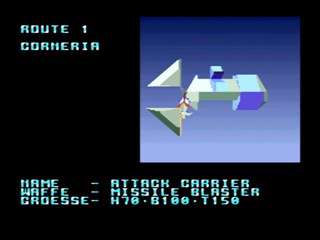
stage differs from the other Cornerias in that you've allowed Andross'
forces - brought in by
the Attack Carrier - more time to unload all their
arsenal, including this
wonderfully powerful battle tank.
When the Destructor
enters, it will launch the shields that cover the
plasma turrets into the
air; so you'll be able to fire on the turrets
themselves and inflict
some damage. When a shield becomes pointed in your
direction, fire at it
instead; the turrets may regenerate if you allow the
shield associated with
it to land on the Destructor again.
By the end of the second
or third round, you'll probably have the shields
destroyed, and you
hopefully wouldn't have allowed them the time to launch
a kamikaze-style attack
on you. All that remains now are turrets, plus the
Destructor itself is
firing missiles at you. You will also notice that the
turrets will sometimes
move around 180 degrees, preventing you from
destroying them. They'll
come back around though, and you'll finish them
off and leave for the
Asteroid Belt.
|
|
If you
play like I do, you'll be on Death's door by the time you arrive at
the space station.
Fortunately, you can beat it without getting hit if
you're careful.
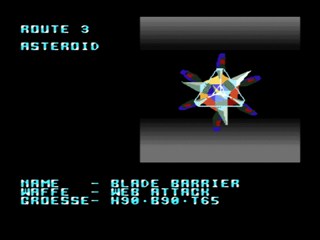
When you first encounter
the Blade Barrier, its blades will be spinning.
Unless you want to get
hit by your own blaster bolts, don't bother firing
on it at these times.
Then the blades will stop, which means that three
missiles will be headed
towards you. I wouldn't reccomend trying to shoot
them down - that's too
risky, really - and I would suggest that you be in
the middle of the
flightpath when the missiles are launched so that you can
retreat to either the
extreme left or extreme right.
When the missiles pass
you by, you need to get back and shoot at the
turrets they were
launched from. You'll have to be quick, because you won't
have a lot of time
before the blades start spinning again.
Now you'll get to see
the most interesting attack the space station has to
offer. It will launch a
tractor beam towards you. Getting caught in it
would be a bad idea,
because when you finally tap L or R enough times to
get out of it, you'll be
a very ripe target for those three missiles I
mentioned earlier. Avoid
the tractor beam by flying away from it as it
comes at you; it
shouldn't be too hard to avoid.
Overall, be patient. If
you try to go all out in firing at the missile
turrets, you'll probably
get killed before you blow up the space station.
However long it does
take you, be careful at the end - the station will
launch the blade in your
direction when you blow it up. Flying around that,
you'll be off to Fortuna.
|
|
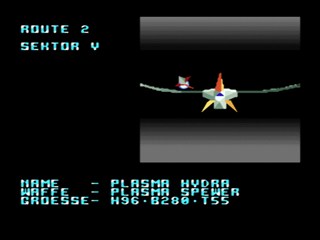
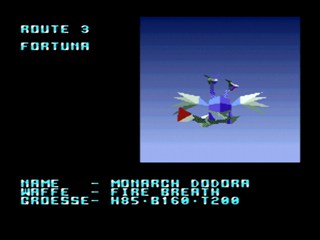
Your
goal here is to fire at the heads or the end of the tail as much as
possible. Your wingmen
might hang around and complain, or they might just
abandon you. Argh.
You'll first encounter
the two-headed dragon from the rear. When it turns
to face you head-on, get
yourself in the middle between where the tail was
and where the necks are
going to be if you want to avoid getting hit.
Once in a while the
dragon will suddenly halt in its place when you're
behind it. Fire your
retros and veer away!
Getting a lot of licks
in on either the tail (watch for the seabirds that
hatch from the eggs) or
the heads and necks (spread your fire over the two
heads so that they are
shortened to the body at more or less the same time)
will cause the dragon to
turn orange - this is good! Keep on firing. If
you're nimble, you'll
put the dragon behind you and be off to Sector Z.
|

|
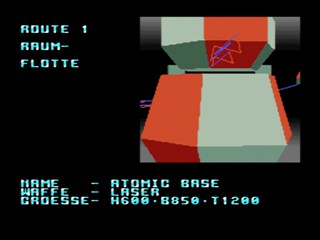
Dieser
Atomic Core ist ähnlich zu killen wie der auf Route 1, aber
diesmal ist es ein wenig fieser. Diesmal musst du schneller sein, weil
wenn du nicht schnell genug bist, sich die Dinger an den Wänden
regenerieren. Ausserdem schliesst sich der Core nach einiger Zeit auch
wieder. Hier hilft nur gut zielen.
|
|
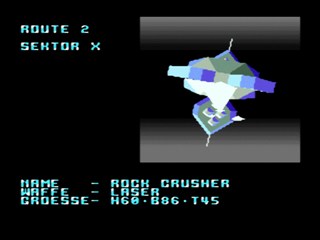
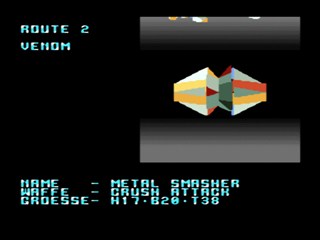
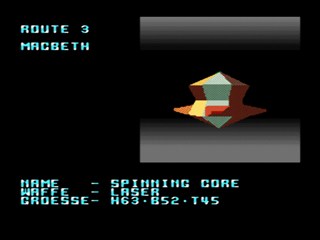
This
rig might seem to be the kingpin of unfriendlies. It is not an easy
boss; it is so tough
sometimes that if you were to die, you'd rather go
back to the beginning of
the stage instead of the midway point so that you
get another try with the
twin blasters.
The first thing you want
to do is shoot down all the plasma turrets on the
outside of the Core.
Watch out for the plasma shots. If you want to down
the turrets quickly, aim
your shots just to the right of the Core so that
you can keep getting in
licks as the turrets turn around towards the other
side.
When there's only a few
turrets left, the top will open up. Watch out for
missiles. Whern there's
no turrets left, the entire machine will leap into
the air. Now, see that
shadow on the ground? You don't want to be on top of
it! Fire your retros and
get out of the way as the Spinning Core returns to
the floor.
The Core will now close
its top and open up its bottom, and this is the
tricky part. You have to
shoot the sensitive firing membrane of the core
while avoiding the black
balls that revolve around it. At times, the core
will spread the balls
out wide, giving you a chance to swing in and stay
inside the circle as
long as you can, trying to destroy the membrane. Wait
until the balls get out
wide before going in, though - premature action
will probably cost you
your ship as ball after ball slams into your hull.
Look for your
opportunities, and keep on firing. Somehow, you'll defeat the
Spinning Core, and it
will be time to leave for Venom.
|
|
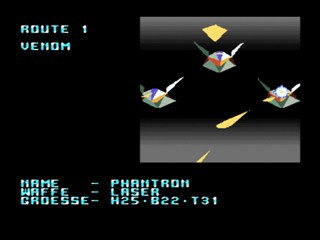
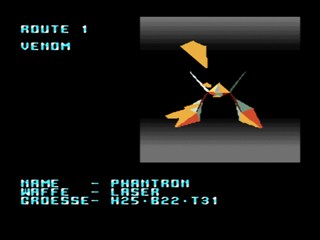
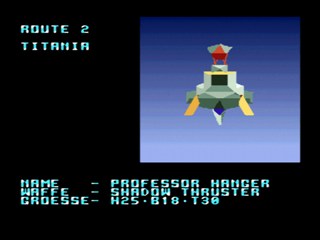
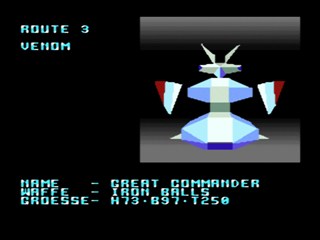
OK,
nun haben wir ein MÄCHTIGES Problem. Vergiss Andross, wenn du
diesen Gegner Problemlos schaffst, ist es für dich ganz bestimmt
kein Problem mehr das Spiel zu gewinnen
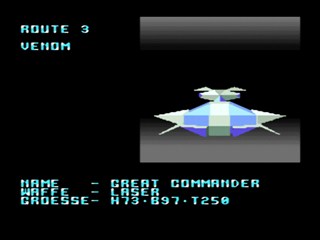
You'll first be treated
to a segueway of the three segments of the Great
Commander coming
together. Watch out for lasers and steel barrels. You can
fly low and to the right
to avoid the whole mess, if you like.
When it's finished,
you'll see what needs to be done. Your autopilot will
bring you about again to
face the vessel, and you have to destroy every one
of the turrets - there
are six of them. Get as low as you can on each pass
and keep shooting.
When you start
inflicting some damage on the vessel, it will begin to smoke
and fire plasma balls at
you while you make your little strafing run, so be
sure to use your barrel
roll. Don't hesitate to use a bomb if you need to
finish off one or two
remaining turrets. The bombs don't compensate for
firepower, though, they
compensate for aim. It's too bad the game forces
you out of cockpit view
for this battle.
Wenn
du es endlich zerlegt hast, darfst du es nicht mal ganz killen, sondern
musst zusehen, wie es zurück auf den Planeten flüchtet. Bock
auf jagen? Dann LOS!
|
|
The
Great Commander glides down over your head, turns around, and then
becomes a piece of utter
horror.
Okay, see that door on
the lower section that keeps opening and closing?
That's where you need to
shoot. Oh, and watch out for the steel balls that
rain down off the ends
of the 'arms,' and also the occiasional missile.
The ship also has a
spinning move, where steel balls will continually be
launched in your
direction. You'll have a harder time getting your licks in
here. When you fire off
a shot, don't wait for it to hit; keep moving.
When the Commander
finally stops spinning, you'll be able to get lots of
hits in. Watch out for
missiles again, and, more importantly, the single
arms that will be raised
to launch a straight stream of steel balls.
They're pretty easy to
avoid, though.
Soon, you'll face a
brutal ring laser attack from the head. You'll need
to avoid the shots.
Shoot down the missiles when you can - there's a chance
they'll leave behind
yellow rings.
Of course, if you have
razor-sharp aim and a steady trigger finger, you can
speed up the destruction
of the Great Commander significantly. After
destroying the bottom
segment, two more will remain. The bridge section
will begin to fly around
the main body, and there's nothing special here -
just destroy it with
your laser. Of course, the main body will try to spin
into your ship, and it
will also launch some very odd-looking probes.
Once you destroy the
bridge, the rest of the ship simply destructs in front
of you. You'll then fly
into Andross' fortress.
Andross will remark that
your choice of routes took him by surprise. Yay!
He'll also say a few
words about your father. Meanwhile, you'll preform
some amazing maunoeuvers
in which your retros will be your best friend.
Coming through to the
end of the corridor, you'll have to really squeeze
through between the
closing doors and the wall - thoughtfully, they left a
panel where you just
flew through in the earlier levels. There is still
enough space, though.
Make sure you collect the twin blaster before exiting
the corridor into the
dark-colored abyss.
|
|
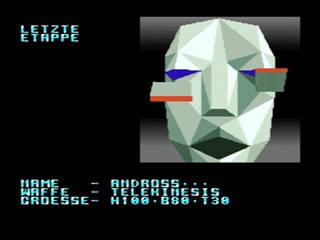
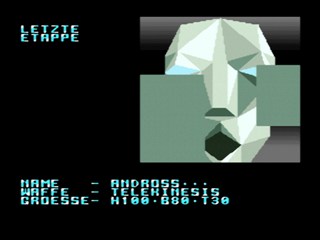
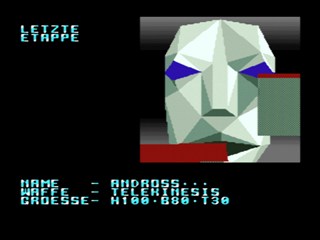
Mit
diesem Gegner solltest du dich allmählich ein wenig auskennen.
Immer in die Augen ballern und dann den Würfel vornehmen. Der ist
diesesmal um einiges stabiler als sonst und wenn das Gesicht sich
wieder neu bildet, dann in einer ganz anderen Form, dann können
die Augen dir gewaltig mit Plasmabällen zusetzen. Trotzdem immer
schön auf die Augen zielen und halt noch auf die Plasmabälle
aufpassen.
Eigentlich
ist alles genauso wie vorher. Man sollte aber auch ein paar Bomben auf
den Würfel werfen, damit es ein wenig schneller geht.
Danach flüchtset du aus dem explodierenden Gebäude. Draussen
warten deine Freunde, dann ein Abspann und fertig.
|